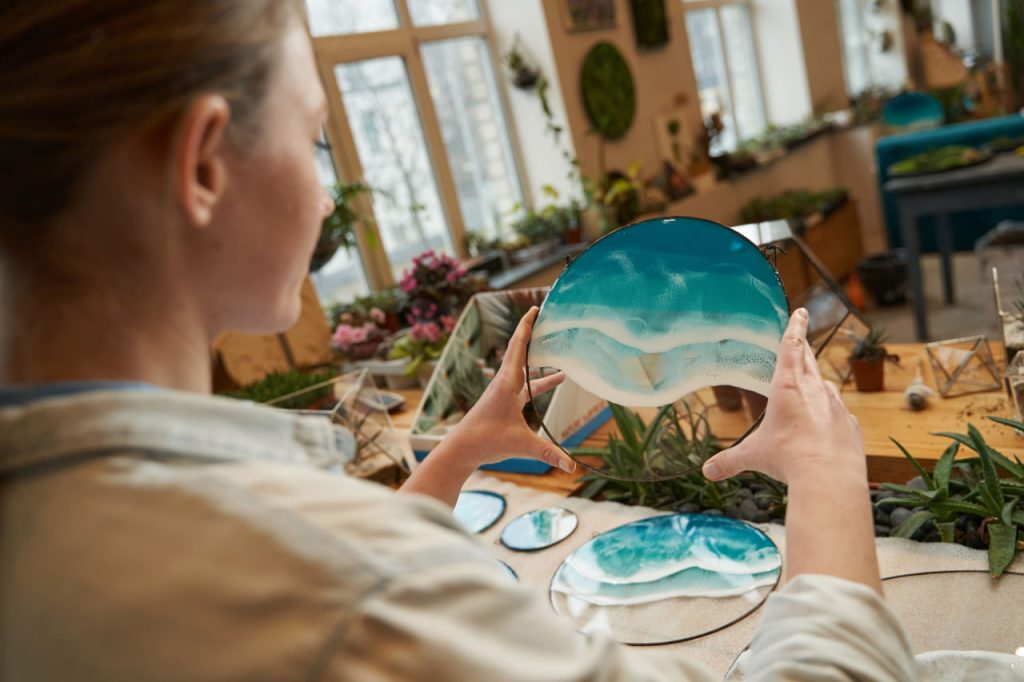
Creating breathtaking ocean resin art requires more than just creativity — the right tools and materials are essential for achieving professional, lasting results. In this article, we’ll explore everything you need to successfully start your resin ocean art journey.
1. Epoxy Resin and Hardener
At the heart of any resin art project is the resin itself. For ocean art:
- Choose Art-Grade Resin: It should be clear, UV-resistant, and have a long working time (30–45 minutes is ideal).
- Self-Leveling Formula: Helps achieve a smooth, glass-like finish without brush marks.
Tip: Always check curing time and temperature recommendations to ensure a perfect set.
2. Colorants and Pigments
Colors bring your ocean to life. Invest in:
- Resin-Safe Pigments: Alcohol inks, mica powders, and liquid resin dyes are most common.
- Shades for Ocean Effects: Deep blue, turquoise, teal, sandy beige, and white are staples.
- Specialty Additives: Some artists also use glow powders or metallic pigments for unique effects.
3. Heat Gun or Torch
A heat gun or small butane torch is crucial for:
- Eliminating Bubbles: Apply light heat after pouring to pop surface bubbles.
- Manipulating Resin: Shape your white lines into delicate waves by blowing and stretching the resin.
Caution: Always keep heat moving to avoid scorching or overheating the resin.
4. Surface Choices
What you pour your resin onto matters:
- Wood Panels: Popular because they’re sturdy and won’t sag under the weight of resin.
- Canvas (Specially Prepared): Must be tightly stretched and reinforced.
- Special Resin Boards: Some brands sell boards pre-primed for resin art.
Seal porous surfaces beforehand to prevent resin absorption.
5. Mixing Tools and Safety Gear
You’ll need:
- Mixing Cups and Stirrers: Preferably disposable and graduated.
- Nitrile Gloves: Protects hands from resin exposure.
- Protective Apron: Resin can permanently stain clothing.
- Respirator Mask: Recommended if working in poorly ventilated areas or with volatile resin types.
Important: Always work in a well-ventilated area and follow safety guidelines.
6. Other Helpful Accessories
- Painter’s Tape: Tape the edges or bottom of your surface to catch resin drips.
- Level: Ensure your work surface is completely flat to avoid resin pooling.
- Tweezers: Handy for removing dust or debris during curing.
Conclusion
Having the right tools and materials is the first step toward creating stunning ocean resin art. Good preparation not only ensures a beautiful final product but also makes the process smoother and more enjoyable. Investing in quality supplies will help you achieve clearer finishes, richer colors, and mesmerizing wave effects — bringing your artistic vision to life!

