
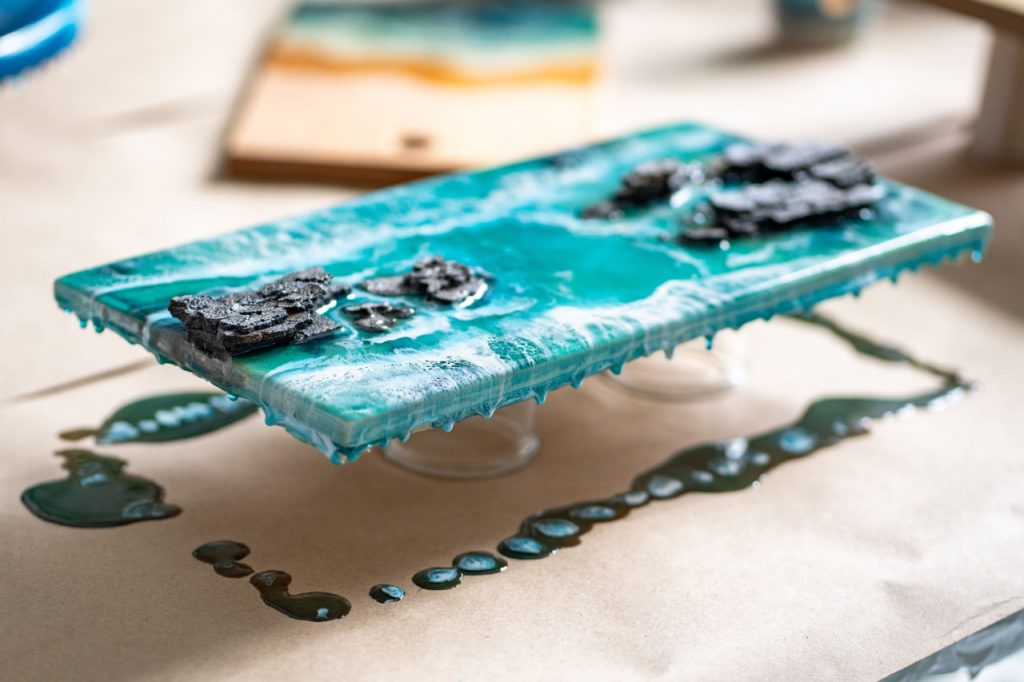
Ocean resin art is one of the most captivating and beautiful forms of creative expression. The combination of vibrant blues, delicate foam, and translucent layers captures the mesmerizing beauty of the sea. If you’ve ever wanted to create realistic ocean waves with resin, here’s a detailed guide to help you get started.
1. Gather High-Quality Materials
Before you start, make sure you have the right materials. Quality plays a huge role in the final result.
- Epoxy Resin and Hardener: Look for clear, self-leveling resin suitable for art.
- Pigments and Dyes: Choose shades of blue, turquoise, white, and sandy beige.
- Mixing Supplies: You’ll need measuring cups, stir sticks, and gloves.
- Surface: Wooden panels, MDF boards, or specially prepared canvases are ideal bases.
2. Prepare Your Workspace
Resin can be messy. Cover your workspace with plastic or parchment paper, wear gloves, and ensure your room is dust-free. A level surface is crucial because resin flows and self-levels during the curing process.
Tip: Make sure the room temperature is stable — around 22–24°C (72–75°F) is ideal for most resins.
3. Mix Your Resin Properly
Carefully measure and mix your resin and hardener according to the manufacturer’s instructions. Mix slowly to minimize bubbles but thoroughly to ensure proper curing.
- Mix in two containers: First stir in one, then pour into another clean cup and mix again.
- Add your chosen pigments into separate portions of resin.
4. Create the Ocean Layers
Start by pouring the deepest blue at the top of your surface to represent the deep sea. Gradually transition to lighter blues, aqua, and finally to sandy tones at the bottom for the shoreline.
- Pour resin slowly and allow it to spread naturally.
- Blend the borders between colors using a spatula or tilt the board gently.
5. Add the Waves
Now for the fun part — creating waves!
- Use white pigment to create thin, lacy wave lines.
- Apply the white resin in curved or flowing lines across the colored background.
- Use a heat gun or a blow dryer to push the white resin outward, creating a foamy, airy look typical of breaking waves.
Layering multiple thin white lines and pushing them differently will help you achieve a more dynamic, multi-dimensional effect.
6. Final Touches
Once you are happy with your design:
- Carefully remove any dust particles using tweezers.
- Let the artwork cure undisturbed for at least 24 hours, or as recommended by your resin brand.
After curing, you can apply a second clear coat to enhance depth and glossiness if desired.
Conclusion
Creating ocean resin art requires patience, practice, and a love for experimentation. Every piece you create will teach you something new about color flow, layering, and movement. With time, you’ll be able to craft stunning ocean scenes that feel alive and captivating.